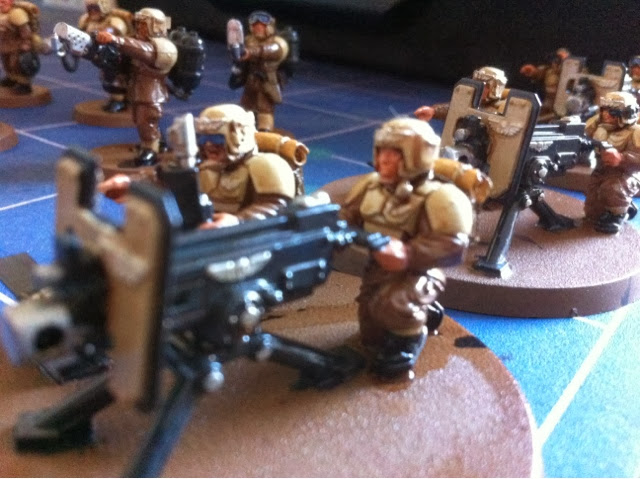
So tragedy struck today when I discovered Iv miss placed my army painter dip :(
And as it was the only day I had to sit down and get some painting done I decided to try something different.
I decided to use an oil wash on my guard as I had done this before but only on smaller projects I thought this would be a test/ trial :0.
Well these are the products I used after doing abit of research on YouTube and google
1. Oil paint
This is just a standard brown from my local art/ craft shop
2. Thinner/ mineral spirits
This is actually mineral spirits although it says whit spirits on the bottle, there is a small "mineral spirits" at the bottom.
So first I had to prep my miniatures, this ment coating them all with a coat of Vallejo gloss varnish that I ran through my airbrush slightly thinned down with a drop of water on a 4:1 ratio of varnish to water.
Once dried I mixed up the oil wash all I did was a pee size drop to two cap dulls of mineral spirits, mixed with an old brush in an old jam jar and once mixed I dropped abit onto some kitchen cloth to see how it dispersed
As long as it is soaked up but the kitchen cloth this is an indicator of how thin it is and how well mixed your oil paint/ thinner is.
Then using a wash size brush I applied it to my miniatures endearing a good coverage and that it was not pooling in any unwanted places.
I allied it to dry in a warm room for about 3 hours then with a cotton bud and a small amount of mineral spirits I cleaned ip all the top surfaces gently wiping away the excess, ensure your not to rough when doing this as the gloss varnish is there to protect the underlying paint from the thinner but if you press to hard you might run the risk of stripping the paint away.
Once I was happy that I had cleaned away all the unwanted oil was from the top/ raised surfaces I simply slowed the miniatures to dry for another hour the sealed them with a cost of Vallejo matt varnish.
Overall I'm very happy with this effect and think with abit more practice this will be how I was all my miniatures in the future.


